After Effects 2025 to perform more advanced visual effects on the raw footages
Premiere Pro 2025 to compile all the edited clips together and add final touches
How Does it Help?
These tools simplify our tasks and make them easier to access and edit. Cloud apps, like Whatsapp and Google Drive present us with tools that allow us to discuss and collaborate with each other through the internet. Professional-grade editing tools, like Adobe After Effects and Premiere Pro, provide me as the editor more diverse features compared to other less advanced ones, like CapCut. These two Adobe products allow me to create, tweak, and customize the raw footage even more to our liking.
I'm doing the editing for this movie intro project. All text on this post is written by me.
I use Adobe Premiere Pro and After Effects 2025 for the editing of this project.
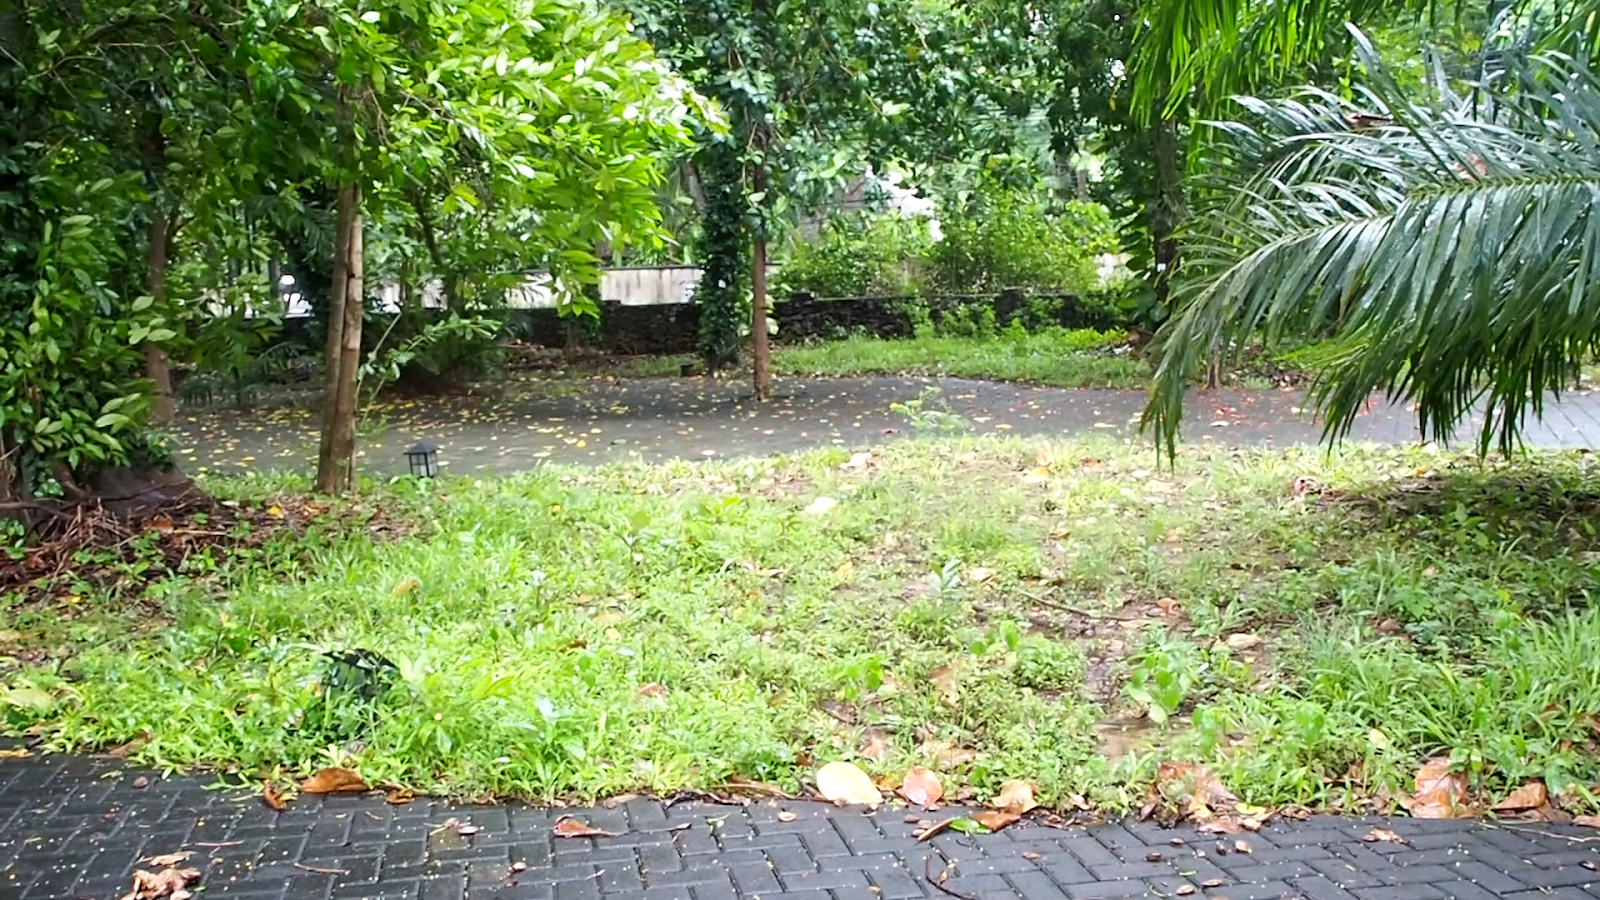
I began editing as soon as we finished shooting. Initially, I started off in After Effects, where I color graded the raw footages to look like nighttime.
Before
After
I found this Youtube video explaining the process, and it really helped a lot. Though, I ended up tweaking the little details of the color grading settings to achieve a result of my liking.
I also experimented with light leaks, which I had planned to apply on some shots.
I again made use of a Youtube video explaining the process of achieving this.
But shortly after, I found out that putting it against a black background makes for a really unique shot, much better than putting it straight above the shots. So, I decided to use this for the first few seconds into the opening credits of the movie intro. I chose a simple fade animation for the credit texts.
Moving on to Premiere Pro, I placed all the dark version shots that I wanted to use for this movie intro, and aligned them in order on the timeline.
Then, I added vignettes to all the shots and made some more changes to the color grading, which in the end improved the look of the shots and make them feel more cinematic.
At first, I had the idea of having voiceover throughout the movie intro, as if a mind-reading machine is being used to enter the mind of the killer, in hopes of finding the truth behind the murder. And we as the audience watches through the POV of the machine entering the mind. I even went on to create a wormhole on After Effects, which I had planned to use at the very beginning of the intro, when the device enters the killer's mind for the first time.
This is thanks to a Youtube video tutorial I found at the time.
But after discussing with my team members, we decided to drop this idea, since the mind reading device plot doesn't suit horror that well, and leans more into sci-fi.
Meanwhile, choosing the right audio was also quite a challenge. I initially had footstep sounds play at the first few seconds of the intro, then followed by a swoosh sound as the wormhole plays. But, dropping the mind-reading device plot meant choosing a different set of audio as well.
Picking and rearranging shots on the timeline was also a back-and-forth task, with new ideas cancelling the previous arrangement. But in the end, I found the arrangement of shots that I loved and sticked with that.
Finally, I opted for a creepy-sounding music to play throughout the whole intro, and I found the perfect one to do just that. I used this music as a base for the timing of the transitions between shots.
So far I've used several moon stock videos at some points of the intro, which I really loved. But halfway through the editing process, my media teacher reviewed the edit and told me to not use stock footages, so I removed the moon shots and opted for our own shots of lighterinstead.
The rest of the editing process went smooth from then on, and most of the clips were arranged based on the beat of the audio I chose for this intro.
There's one particular clip that I put extra work on, which is this shot below.
The silhouette of the killer behind the main character is actually fake. It's an image that I tracked into the shot using the "3D Camera Tracker" feature available in After Effects. I wouldn't say the addition of the silhouette is perfect, since it is static, but it definitely helped intensifies this last scene of the movie intro.
Meanwhile, for the main title animation, I initially considered going for a bluish theme.
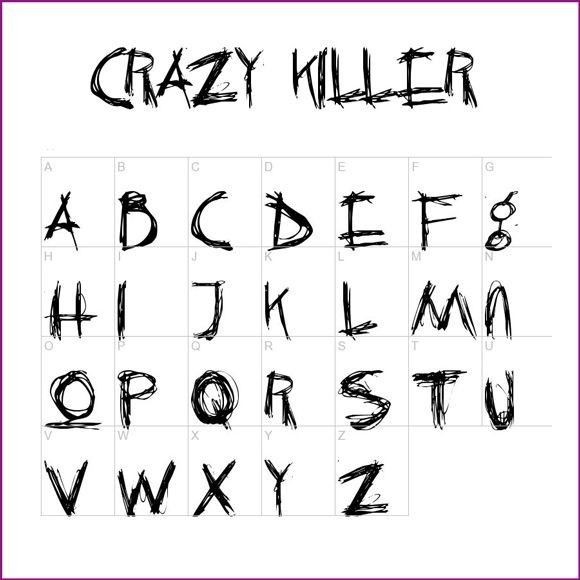
But at this point, my teammates suggested me to change the font to a scratchier hand-written style to further enhance the horror feel. And with a different font in use, I ended up changing the main title animation as well, to this blood-dripping style from the Youtube video below.
End result, with new font and animation.
Reflection:
This process of editing a movie intro has been a driving force for me to learn new things that are possible to create within the two Adobe apps I have. As the sole editor, this is also a good exercise for me to be punctual and not procrastinate as to not let my group down. Also, I encountered various errors throughout the editing process, but many videos on Youtube explained the possible solutions, hence making the platform one of the most crucial parts of the editing process. All in all, I'm pretty satisfied with how the end result turned out, and hopefully so will others.
The behind the Scenes was originally my task, but due to other more demanding tasks that needed to be done, this section got delayed. Now Max will complete it.
This post explains how we showed a rough draft of our film opening to some members of our target audience in order to receive helpful feedback. Shannon did the form
The purpose of a screen test is to gain audience feedback about our work and see if their are any improvements that can be made. We decided to use google forms to create a survey to share with our audience because it is convenient to use.
1. What do you like about this horror movie introduction
2. What are your thoughts on the characters of the movie ?
3. What can we improve on ?
4. Which movie title for this horror movie ?
5. if all of these feedbacks were implemented in this movie opening would you watch the rest of the movie?
6. If in the previous question you answer no then why?
We chose these questions because… We showed the clip to (number) members of our target audience to ensure that the feedback we receive is appropriate. Finding people for the screen test was easy because we asked people online to fill out the survey, which is very simple and easy to do. Here is the draft that we showed audiences for the screen test:
Here are the results from the audience feedback:
Screenshots/copy and paste etc (just make sure that it is clear)
From the feedback we learned…..
We are going to change….
This screen test was a useful part of our process because….
Reflection: How did this screen test help your overall project? How will you improve this next time?


 IM FELL (capcut)