After Effects 2025 to perform more advanced visual effects on the raw footages
Premiere Pro 2025 to compile all the edited clips together and add final touches
How Does it Help?
These tools simplify our tasks and make them easier to access and edit. Cloud apps, like Whatsapp and Google Drive present us with tools that allow us to discuss and collaborate with each other through the internet. Professional-grade editing tools, like Adobe After Effects and Premiere Pro, provide me as the editor more diverse features compared to other less advanced ones, like CapCut. These two Adobe products allow me to create, tweak, and customize the raw footage even more to our liking.
I'm doing the editing for this movie intro project. All text on this post is written by me.
I use Adobe Premiere Pro and After Effects 2025 for the editing of this project.
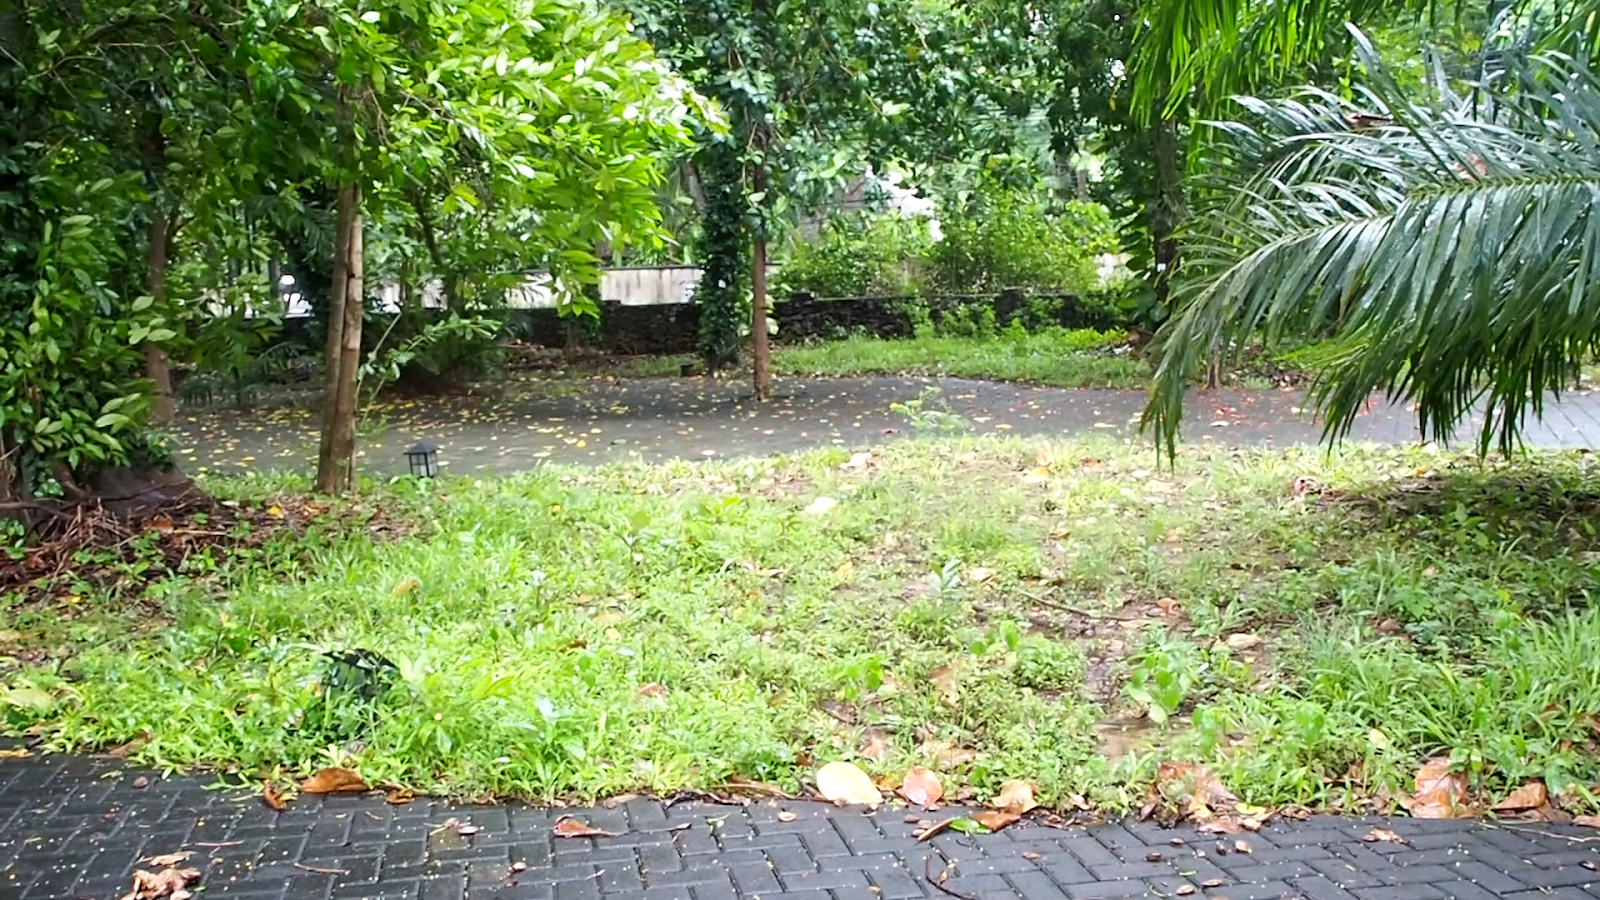
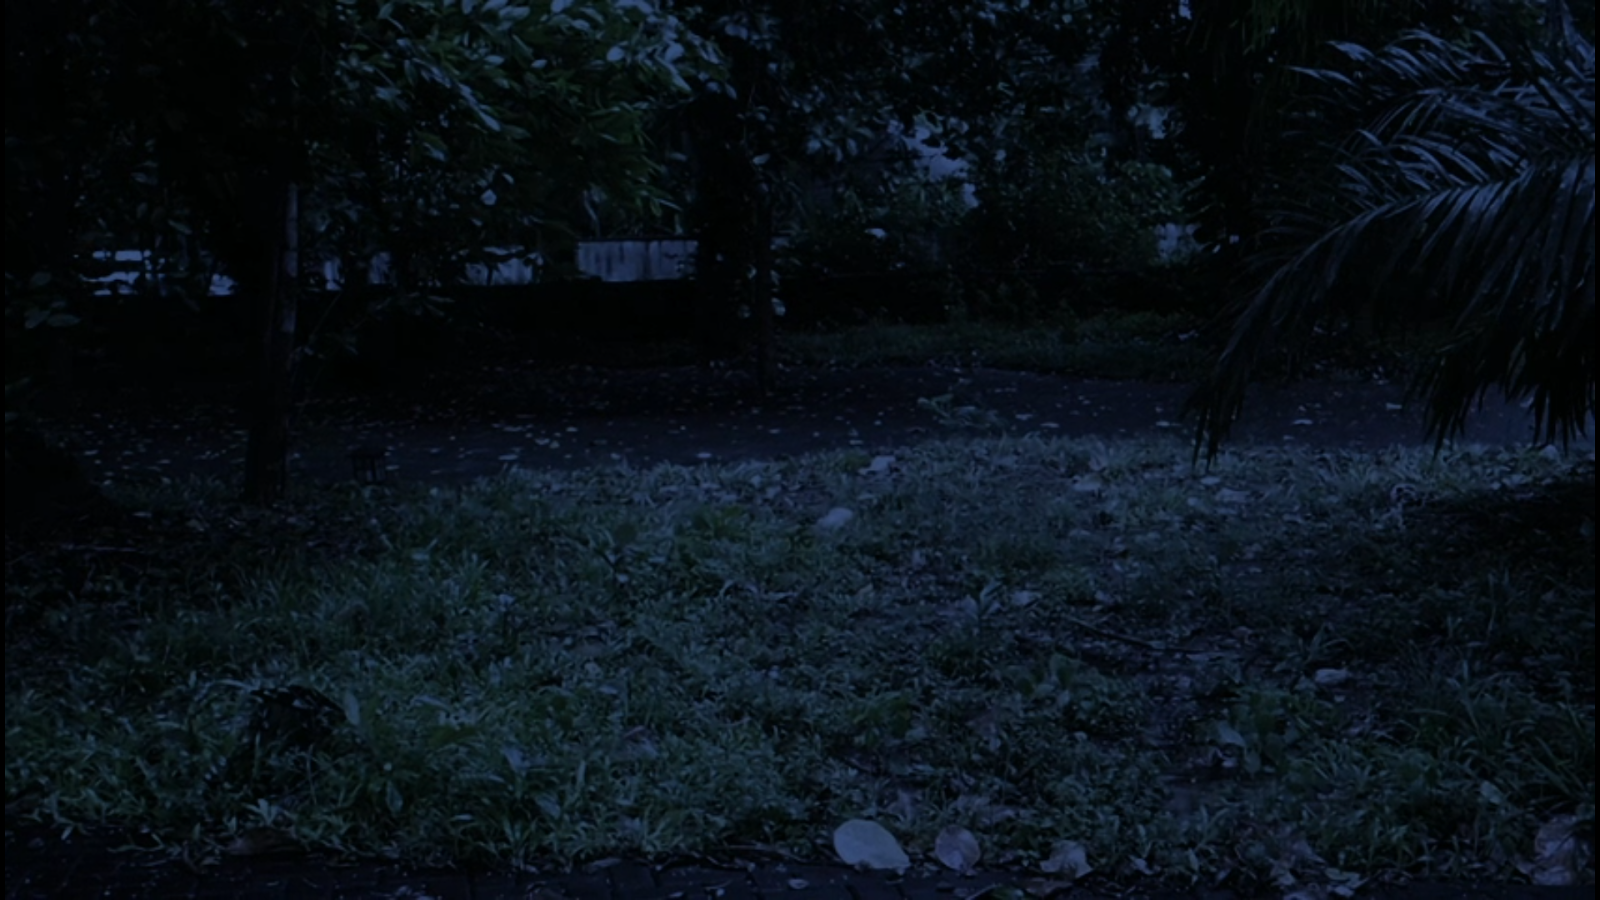
I began editing as soon as we finished shooting. Initially, I started off in After Effects, where I color graded the raw footages to look like nighttime.
Before
After
I found this Youtube video explaining the process, and it really helped a lot. Though, I ended up tweaking the little details of the color grading settings to achieve a result of my liking.
I also experimented with light leaks, which I had planned to apply on some shots.
I again made use of a Youtube video explaining the process of achieving this.
But shortly after, I found out that putting it against a black background makes for a really unique shot, much better than putting it straight above the shots. So, I decided to use this for the first few seconds into the opening credits of the movie intro. I chose a simple fade animation for the credit texts.
Moving on to Premiere Pro, I placed all the dark version shots that I wanted to use for this movie intro, and aligned them in order on the timeline.
Then, I added vignettes to all the shots and made some more changes to the color grading, which in the end improved the look of the shots and make them feel more cinematic.
At first, I had the idea of having voiceover throughout the movie intro, as if a mind-reading machine is being used to enter the mind of the killer, in hopes of finding the truth behind the murder. And we as the audience watches through the POV of the machine entering the mind. I even went on to create a wormhole on After Effects, which I had planned to use at the very beginning of the intro, when the device enters the killer's mind for the first time.
This is thanks to a Youtube video tutorial I found at the time.
But after discussing with my team members, we decided to drop this idea, since the mind reading device plot doesn't suit horror that well, and leans more into sci-fi.
Meanwhile, choosing the right audio was also quite a challenge. I initially had footstep sounds play at the first few seconds of the intro, then followed by a swoosh sound as the wormhole plays. But, dropping the mind-reading device plot meant choosing a different set of audio as well.
Picking and rearranging shots on the timeline was also a back-and-forth task, with new ideas cancelling the previous arrangement. But in the end, I found the arrangement of shots that I loved and sticked with that.
Finally, I opted for a creepy-sounding music to play throughout the whole intro, and I found the perfect one to do just that. I used this music as a base for the timing of the transitions between shots.
So far I've used several moon stock videos at some points of the intro, which I really loved. But halfway through the editing process, my media teacher reviewed the edit and told me to not use stock footages, so I removed the moon shots and opted for our own shots of lighterinstead.
The rest of the editing process went smooth from then on, and most of the clips were arranged based on the beat of the audio I chose for this intro.
There's one particular clip that I put extra work on, which is this shot below.
The silhouette of the killer behind the main character is actually fake. It's an image that I tracked into the shot using the "3D Camera Tracker" feature available in After Effects. I wouldn't say the addition of the silhouette is perfect, since it is static, but it definitely helped intensifies this last scene of the movie intro.
Meanwhile, for the main title animation, I initially considered going for a bluish theme.
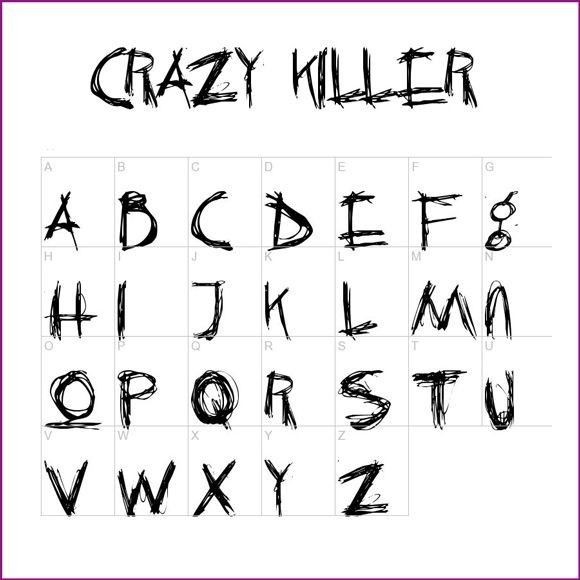
But at this point, my teammates suggested me to change the font to a scratchier hand-written style to further enhance the horror feel. And with a different font in use, I ended up changing the main title animation as well, to this blood-dripping style from the Youtube video below.
End result, with new font and animation.
Reflection:
This process of editing a movie intro has been a driving force for me to learn new things that are possible to create within the two Adobe apps I have. As the sole editor, this is also a good exercise for me to be punctual and not procrastinate as to not let my group down. Also, I encountered various errors throughout the editing process, but many videos on Youtube explained the possible solutions, hence making the platform one of the most crucial parts of the editing process. All in all, I'm pretty satisfied with how the end result turned out, and hopefully so will others.
The behind the Scenes was originally my task, but due to other more demanding tasks that needed to be done, this section got delayed. Now Max will complete it.
This post explains how we showed a rough draft of our film opening to some members of our target audience in order to receive helpful feedback. Shannon did the form
The purpose of a screen test is to gain audience feedback about our work and see if their are any improvements that can be made. We decided to use google forms to create a survey to share with our audience because it is convenient to use.
1. What do you like about this horror movie introduction
2. What are your thoughts on the characters of the movie ?
3. What can we improve on ?
4. Which movie title for this horror movie ?
5. if all of these feedbacks were implemented in this movie opening would you watch the rest of the movie?
6. If in the previous question you answer no then why?
We chose these questions because… We showed the clip to (number) members of our target audience to ensure that the feedback we receive is appropriate. Finding people for the screen test was easy because we asked people online to fill out the survey, which is very simple and easy to do. Here is the draft that we showed audiences for the screen test:
Here are the results from the audience feedback:
Screenshots/copy and paste etc (just make sure that it is clear)
From the feedback we learned…..
We are going to change….
This screen test was a useful part of our process because….
Reflection: How did this screen test help your overall project? How will you improve this next time?
This is the dominant reading for our project. This was made by Shannon.
List
Our intended
Dominant Reading
How we will achieve this with technical elements
Individuals
Greg, Kenneth, Max
Kenneth = a paranoid teenager
Greg = Kenneth's good friend, mindful of his surroundings
Max = careless, ignorant teenager
Kenneth
Mise en scene: The actor constantly looks at his surroundings and whatever's around him.
Camera: There is a close up of his concerned expression. There are also medium shots of his concerned body language. The camera pans from Kenneth to what he is looking at.
Editing: Multiple cuts of different camera angles. There is also an eyeline match of kenneth looking to his surroundings
Sound: Diegetic sounds of rustling leaves and footsteps of the stalker.
Greg
Mise en scene: The actor performance contained looking for his friend (kenneth) when he disappeared
Camera: There is a tracking shot of him trying to follow Kenneth's tracks. Medium shots of his body language turning around to find Kenneth.
Editing: Multiple cuts of different camera angles. There is also a reaction shot of his worried face and Kenneth's “blood”.
Sound: Diegetic sounds of the actor’s dialogue contained words that worried about Kenneth after he disappeared.
Max
Mise en scene: The actress carries headphones and has her emotionless expression when the camera focuses on her.
Camera: There are close up shots of her expressions that show that she doesn’t really care.
Social group
Teenagers
Teenagers should not be left alone without adult supervision.
There are multiple camera angles / close up shots of the paranoia of the teenagers. There is a tracking shot scene where Kenneth gets killed. The body language of both Greg and Kenneth are shaky and scared.
Places
Forest
Forests are a bad place to hangout.
There will be low key lighting that’s used to present the place. Many bushes and leaves will be used that hides hidden cameras that makes the scene unsafe for the characters and the audience. Discordant non diegetic sounds will be used.
Events
Murder
Murder is bad / traumatic.
There is a medium shot of Greg worried for kenneth. There is blood in some scenes and the color red on blood is a semantic code for death, anger, etc.
Overall Message
Teenagers shouldn’t be left alone in the forest because tragedies may happen as a result of murder.
This blog post contains the work I did in my lesson on how to successfully edit. My teacher filmed the footage but I edited it together. My teacher also provided the template for the blog post.
Why is continuity editing important?
Continuity editing includes making sure that items like props or costumes stay consistent from scene to scene. But the more important work lies in editing shots together in a way that leaves viewers thoroughly grounded in both time and space.
Different types of continuity edit
Straight cut (cut)
Eyeline match
Shot /reverse shot
Cutaway / Insert
Match cut
Footage
Here is the footage that my teacher shot which utilises a variety of camera angles and movements. The scene is very simple, it involves a student standing up and leaving the classroom. A single shot here might be quite boring for the audience, by editing and combining the shots together we can make the scene feel more dynamic.
Raw footages:
My editing process
I used After Effects 2025 to make this edit. While I'm aware that Premiere Pro is much better at compiling and cutting videos, I'm more experienced with using AE, hence why I chose to do the project using it.
Here is my final scene. Editing multiple clips together made the scene better because it keeps things interesting for the audience, even if the scene doesn't have much happening in it.
Reflection
This practice gave me a hands-on experience on editing videos, which is crucial since I'm going to be the editor in our team. It also seems that I need to learn Premiere Pro soon, since After Effects is more optimized for effects than cuts.
We made a mini project that helped us learn how to recreate a scene from a movie of the theme we picked: horror. We did this as a group.
We chose a scene from Jennifer's Body (2009).
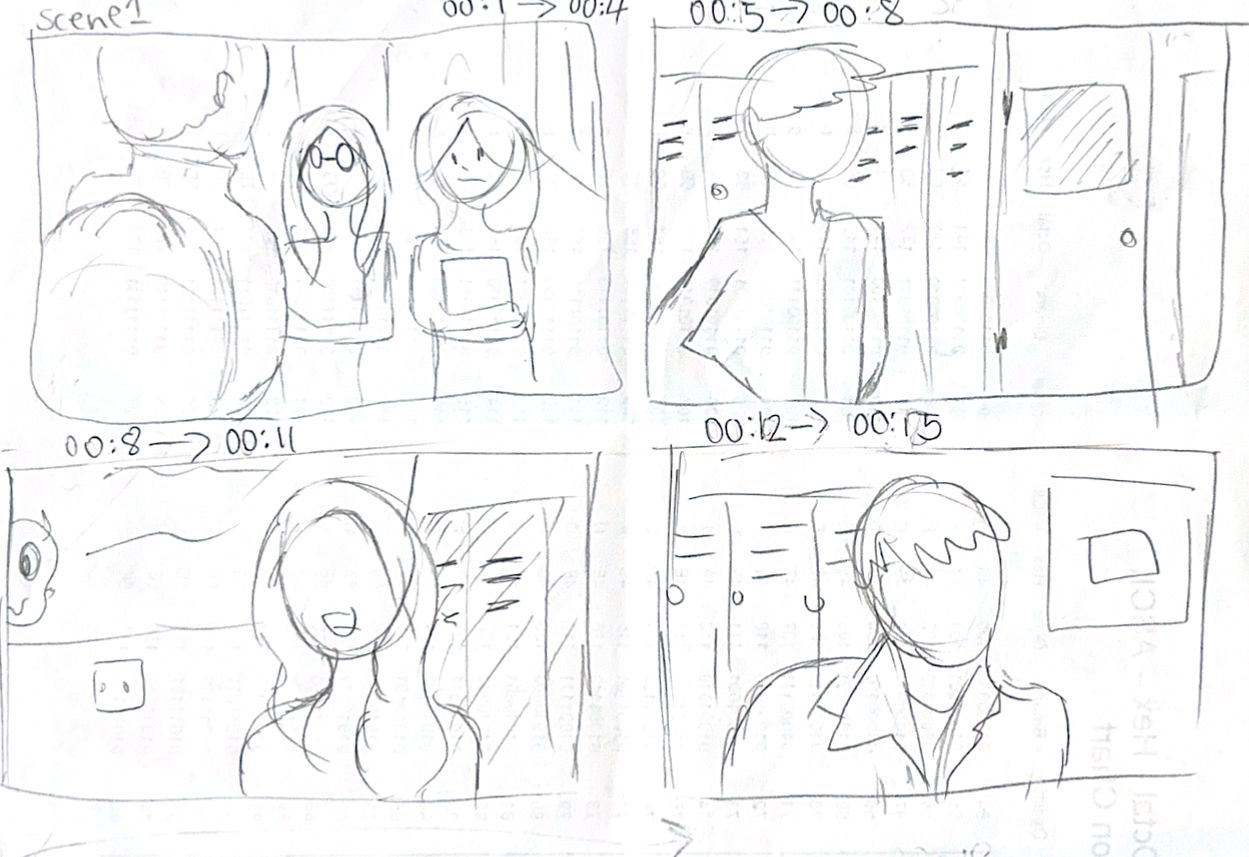
Below is our storyboard:
Below is the finished movie scene recreation mini-project, edited by Max and me (Kenneth):
Camera
Problem: The camera was sometimes shaky in the middle of recording due to constant imperfections within the camera angle or movement which can make some scenes with no sense and context ( character wasn't in the camera angle thus, talking to nobody or the camera movement was too far from the characters to be seen clearly )
Solution: We could possibly use a stabilizer or a tripod for the recording part to prevent shake or weird angles within the recording session.
Next time: Most likely practice for the camera stillness because, purchasing a stabilizer or a tripod can be too far out of our current budget and we might need another cameraman that has a stable arm just incase for the camera movement.
Editing
Problem: Lip-syncing to the original audio was a bit abnormal due to the characters while recording can be either nervous, embarrassed or not good at acting for the sound to be synced to the audio.
Solution: Retake many shots to see if we can perfect it the original audio or get actors that are good at acting like doing a Screen Test with various actors we picked out that could be good within the context of our video to prevent weird lip-syncing to the audio.
Next time: Remember to take as many shots as possible to have a higher possibility that the lip-syncing wouldn't be as abnormal or off-synced.
The text in green was written by my teammate Bamz.
Mise en scene
Problem: We couldn't control the lighting as we were filming outside the classroom. The lighting for a horror movie especially for this one requires mostly low key lighting and since it was sunny today we didn't have access to that.
Solution: Our teammates Max and Kenneth decided to adjust the video's lighting using the video editing apps to get the same feel as the clip from the movie.
Next time: We will find a place with artificial lighting so we can easily control the lighting without much help from the video editing app to give it a more natural look instead of artificially increasing something. However, if this is not possible we will use the solution mentioned previously.
Problem: In the first scene an actress looked at the camera. It's a subtle detail but our goal is so it would match perfectly to the scene we are trying to recreate.
Solution: Our team tried to edit the video. However they couldn't fully fix that scene so we didn't find the right solution at that time.
Next time: we will rehearse and practice many times before we actually film the scenes. If not we can do multiple takes at the time and carefully look at the footage before deciding on another take. However, if all these repercussions fail then we can figure out how to edit it out.
Sound
Problem: We didn't have any problems with the sound as we use audio from the original clip which is very clear.
Next time: I think we will continue doing this and for our upcoming project we will pre record the audio for the dialogue so we can get a clear sound. I also learned it's best not to record audio while we are recording a scene
The text in light pink was written by my teammate Shannon.
Self reflection:
This was my first ever attempt at creating a movie scene recreation. Lip syncing was a tough aspect of this project. However, through this practice I learned that we need more practice and better team synergy (as we forgot to do the behind the scenes). Overall, I think this project helped me and my group gain more hands-on experience.
This is the filming schedule for our project. We did this together.
Scene
Date/Time
Location
People
Equipment
Other
All
18 January 2024, 17:30
Taman Festival Bali
Maxine, Shannon, Kenneth, Bams
( possibly another dude )
Drone, Camera, Phones, Laptop, Car
Few other actor props to make it more immersive
We changed plans because 2 of our members cannot make it, and so we changed the shooting date to 20 January, where we will go there after school together to shoot.
Reflection: Initially we plan to shoot everything on this one location on Saturday. But the likeliness of getting everything done in just one day is doubtful, so if we need an extra day to shoot or retake some more scenes, Monday after school would be a good time.


 IM FELL (capcut)